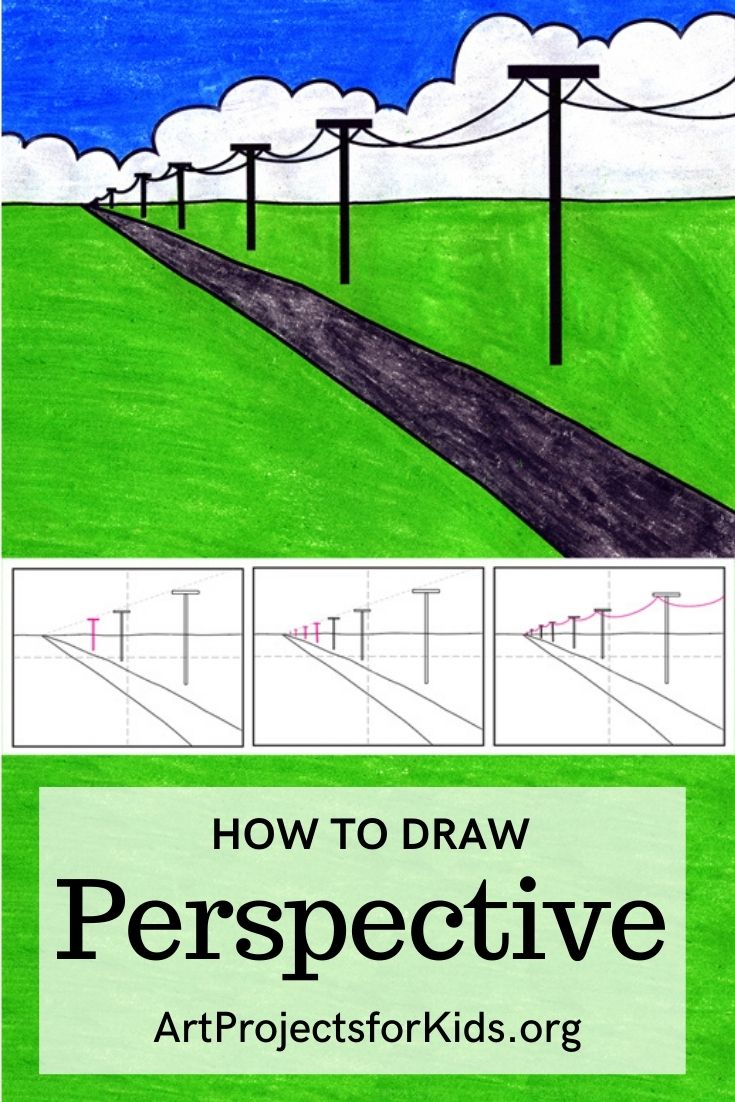
Easy How to Draw a One Point Perspective Landscape
Learn how to draw a One Point Perspective landscape with this easy step by step tutorial. Use simple and repeating shapes to help illustrate the point.
So, what is a one point perspective, you might ask? It’s a type of drawing that uses one point in the distance from which everything in the drawing is set out. This method is useful is showing how things appear to get smaller as they get further away, converging towards a single “vanishing point” on the horizon line.
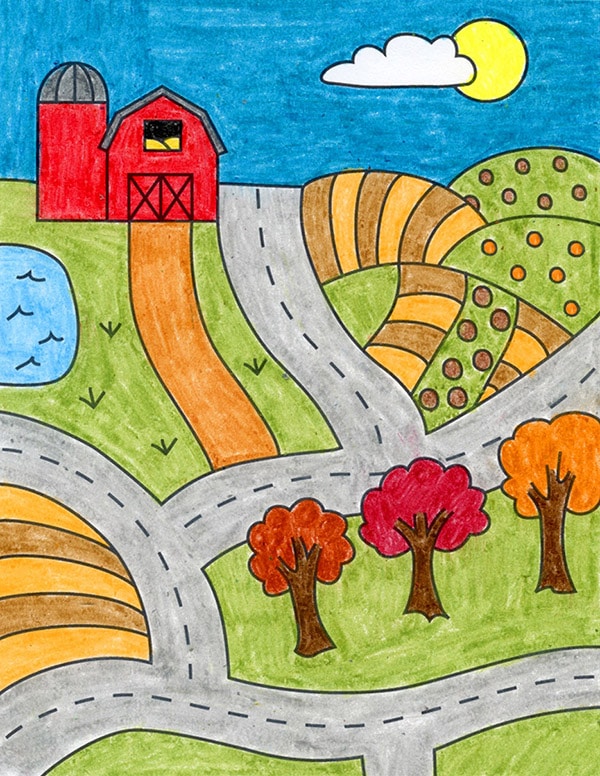
When students are first learning about perspective, and how to make their drawings look like they have more depth, it’s smart to keep things super simple. A landscape with multiple roads or mismatched objects kind of lose the ability to clearly see the progression that a one point perspective drawing can offer.
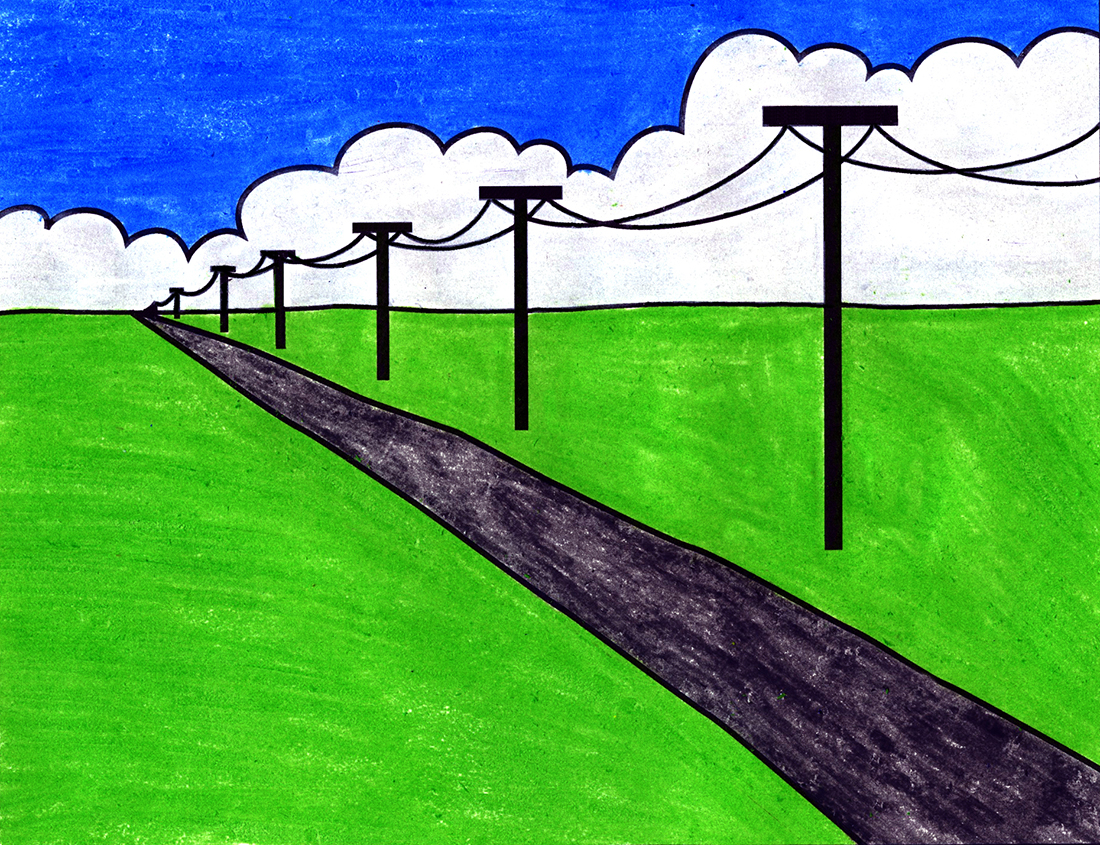
This tutorial keeps things basic, with one road placed at an angle, and a series of (old-fashioned!) telephone poles. They are very easy to draw, understood to be all the same height in real life, and offer the chance to draw add some pretty draped wire when complete.
One additional idea is to challenge students to add some element of their own to this project before they finish is. Maybe a car on the road, or a house in the field, or a sunset in the background, just to name a few.
Materials to draw a One Point Perspective
- How to Draw a One Point Perspective (click to download a PDF)
- Drawing paper
- Black Marker
- Crayons
Step by Step Directions for a One Point Perspetive Drawing
Time needed: 30 minutes
How to Draw Another One Point Perspective
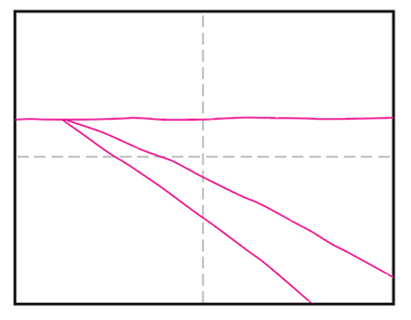
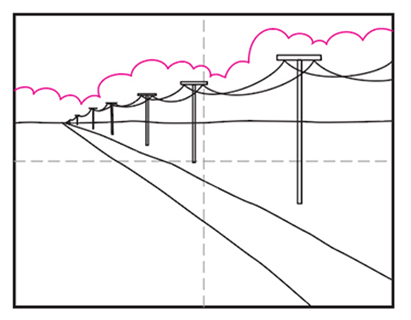
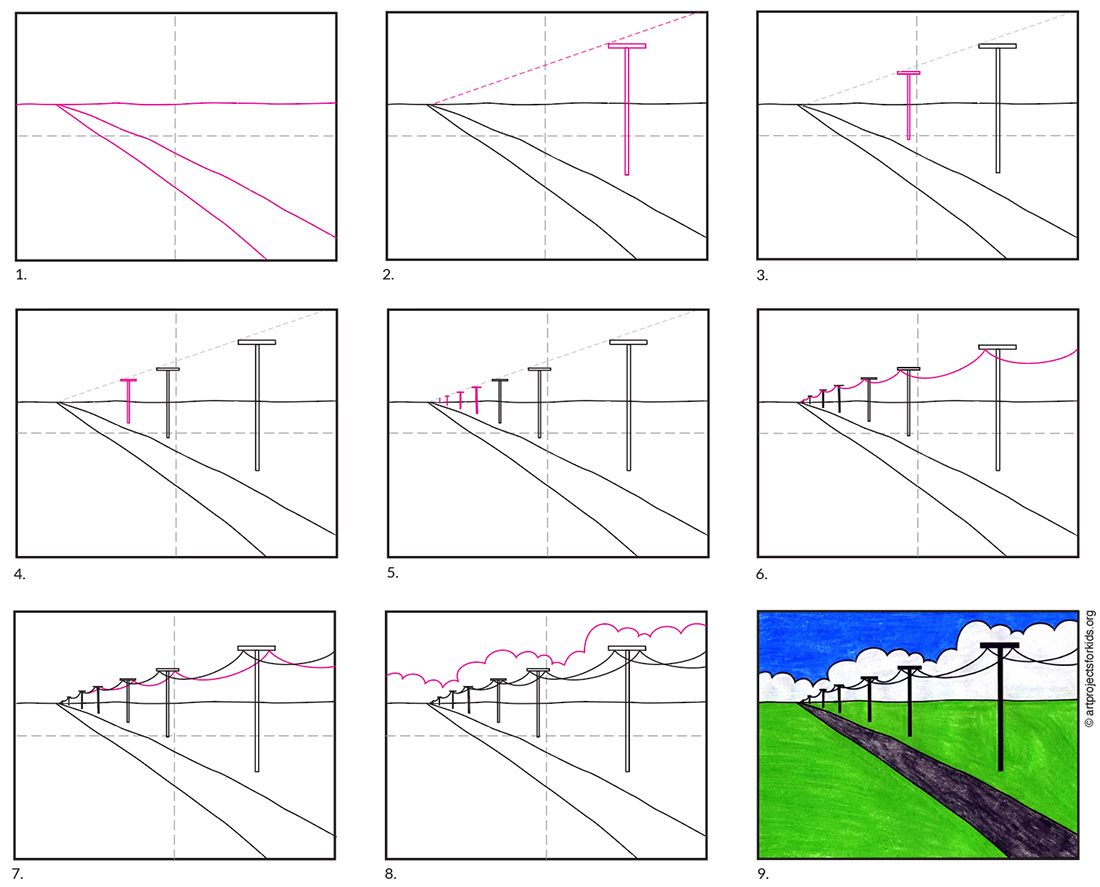
- Draw a horizon and road that comes to point.

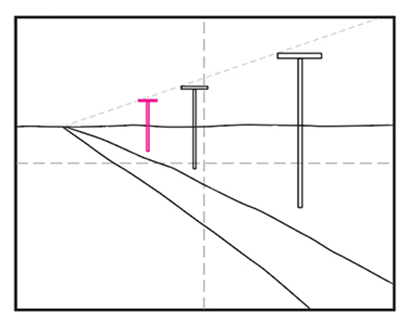
- Draw a guide line. Add the largest telephone pole.
- Draw a smaller T near the middle of the paper.
- Add a smaller T to the left.
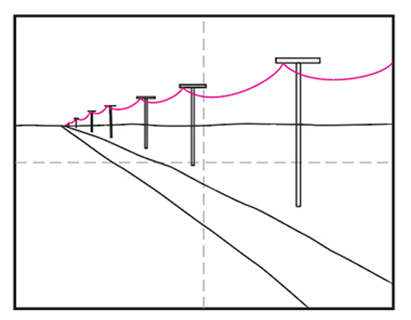
- Finish with more Ts, all touching the guide line.
- Erase the guide and draped wire line on the left.
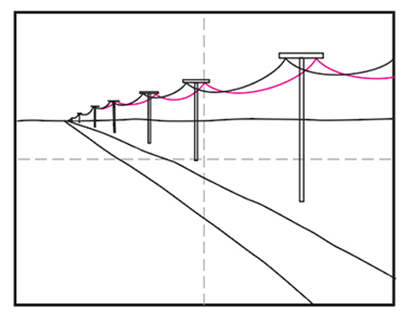
- Draw the wire line draped on the right.
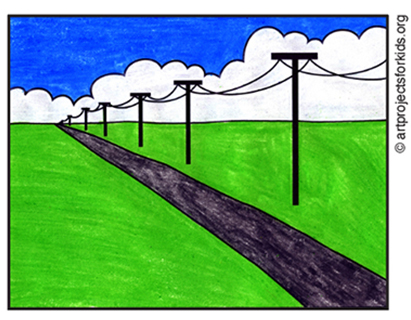
- Fill background with lots of puffy clouds.
- Trace with marker and color.